
Punctures are an inevitable part of cycling, just like hills and headwinds. Whilst they are invariably annoying, they don’t have to ruin your ride or your cycling holiday. With a bit of practice and the right tools, they can be fixed in five minutes in 9 simple steps!
First things first…
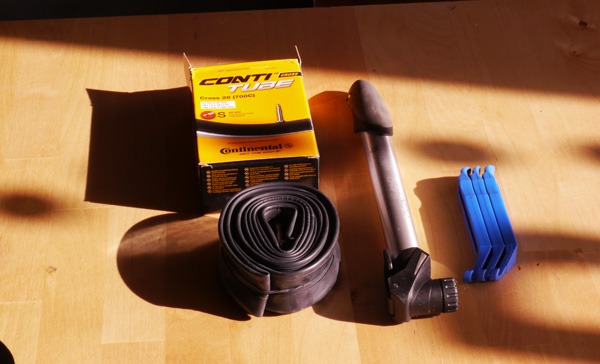
Always carry with you the spares you need. Even if you aren’t confident fixing your own puncture (yet) you may be lucky enough to find someone to help you (when your trusty Skedaddle guide is not around), as long as you have the right stuff.
Inner tube – the correct size for your wheels, the right width and with a valve long enough for your rims.
Tyre levers – useful for getting tyres on and off especially with cold, wet hands.
Pump – to get the air in.
Gas cartridge – quicker to inflate a road tyre to high pressure but one use only and more likely to go wrong unless you are well practiced.
Tyre boot – if you have a slit in the side wall of your tyre you will need either a patch or something rigid to cover it up so the new inner tube doesn’t push through.
Patch kit – if you use up all your tubes this is your final resort.
Cycling Essentials: our full guide to the kit you need here!
Step-by-step guide:
Step 1:
Remove your wheel, then lean your bike up somewhere or lay it down on the grass, drive side up. Please don’t ever put your bike upside down resting on the bars and saddle.
Step 2:
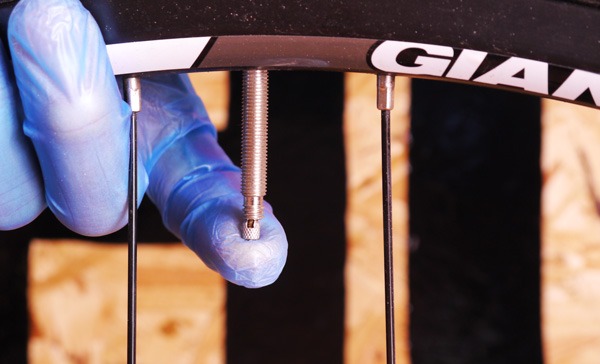
Completely deflate your tyre by depressing the valve to let all remaining air out.
Step 3:
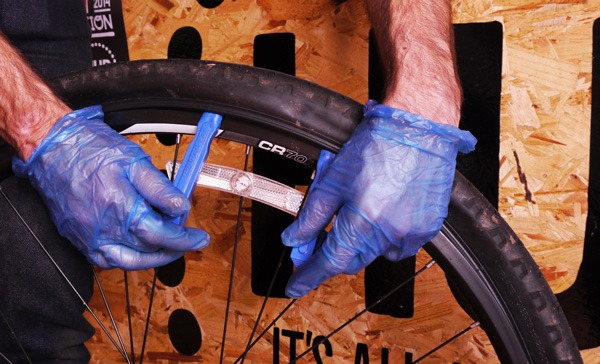
With the wheel on the floor or resting on your shoes, start with the valve and both hands at 12 0’clock, using both hands working away from each other squeeze and pull any slack in the tyre down to the 6 O’clock position. You should now be able to gently roll the tyre off the rim, if it is still tight use a tyre lever to hook under the bead and release it from one side.
Step 4:
Check your tyre, you need to find the culprit otherwise you will just puncture your new tube. Do a visual inspection first for any thorns, stones or cuts. Next run your fingers gently around the inside of the tyre being careful and slow, just in case there is anything sharp. If you can’t find anything check where the hole in the inner tube is for a clue. If there are two small holes close together it could have been a pinch puncture, so less likely to have anything sharp in your tyre. Even if you find something keep going and check again, there might be more than one thorn that has found its way in.
Step 5:
Seat the tyre back on the rim, making sure the bead is hooked under. If you want to be super pro now is the time to line up your logos on your tyre with the logos on your wheel. Unwrap your inner tube, careful not to let it touch the ground, and inflate it slightly until it holds its shape. Put the valve through the valve hole and tuck the inner tube inside the tyre.
Step 6:
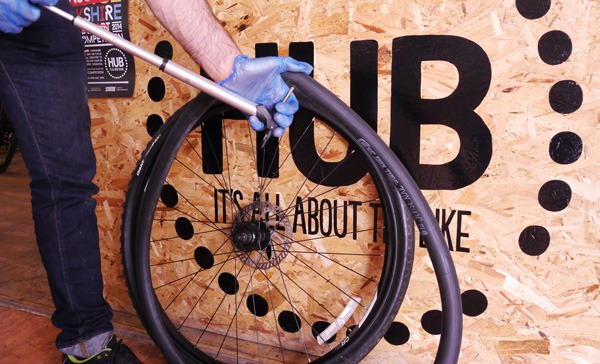
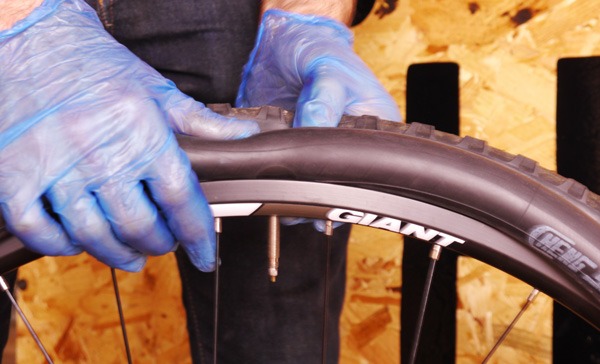
Put the valve at 12 O’clock, make sure it is hanging straight down and then with both hands working away from each other push the tyre back over the rim so the bead sits under the hook of the rim taking care not to pinch the inner tube. When you get to 6 o’clock the tyre may start to feel tight. You can pick the wheel up then and brace it against your hips to try and push the final part of the tyre over. If it still won’t go start again at the top and push/pull the tyre until you have worked as much slack as possible down to the bottom and try again.
Step 7:
Use your tyre levers as a last resort as it makes it more likely to pinch the inner tube. Use the lever to hook and lift the tyre over the rim so the bead sits under the hook of the rim.
Step 8:
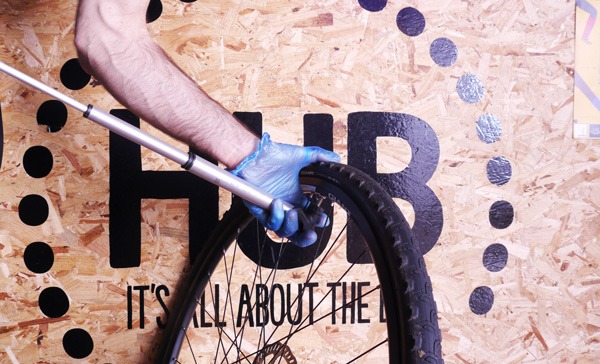
Once the tyre is on check all the way round that you can’t see any inner tube sticking out and that the bead is correctly seated. Give the valve a little wiggle up and down to make sure it is properly in place, then start to inflate your tyre.
Step 9:
Once the tyre is up to the correct pressure give it a spin and check again for any lumps or bulges. If it all looks good put it back in your bike, checking of course that it is securely locked in and the brakes are correctly positioned and working again.
Simple!
It is worth doing a repair a few times at home, just for practice, so when you are out in the cold and wet you are confident and ready to give it a go.